So after much work, the animatic is finally done! Well there are still a few tweaks to be made but its basically there.
Enjoy.
Wednesday 26 November 2014
Monday 17 November 2014
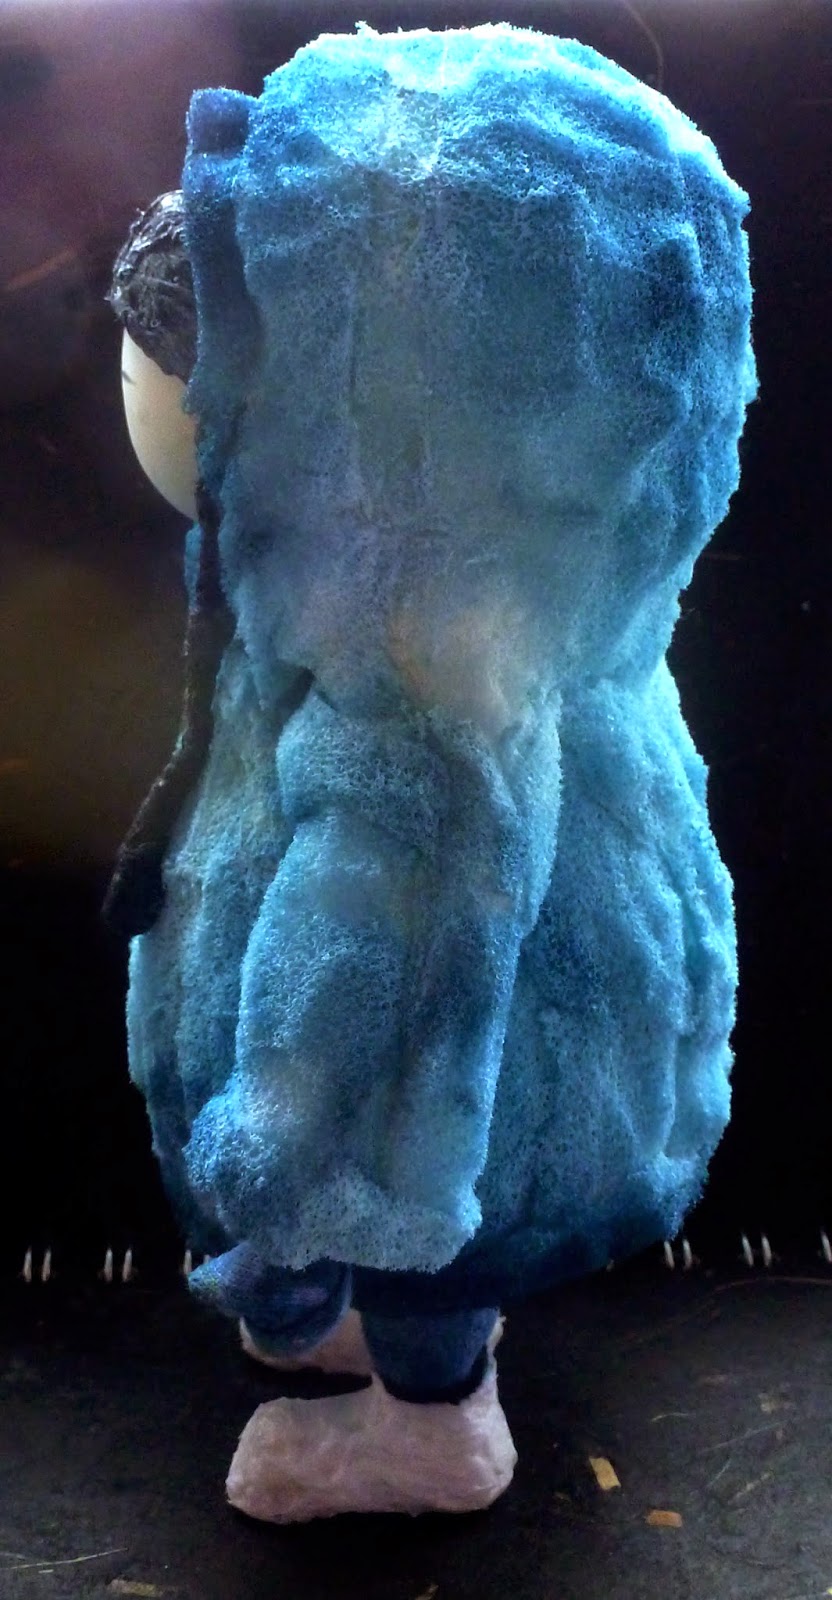
Anik Armature
I made the armature for Anik and I tried out some things so not really sure if it'll work until he's all fleshed and clothed out. For starters I've made him taller than Aluki, as guys are usually taller than girls and since their character designs are very simple I need little things like this to help allude to their genders.The Aluki puppet I made earlier was just a tester and I felt her legs needed to be longer to allow for her to be able to kneel and crawl, as well as her arms being longer as she could barely carry out certain necessary positions. Although her arms looked long enough at the armature stage, when she actually got her bulky coat on it made them seem shorter, as they had to stretch over the bulkiness. So with Anik's armature I have made his arms longer to account for the bulky coat and I have made his legs longer than initially planned, while trying to compensate for the fact that when I make the real Aluki puppet, she will be taller than before as I will increase her leg length, so Anik's height needs to be proportionate to that, not the current prototype one.
I also used Araldite epoxy glue for this, instead of the Z-Poxy glue I used on Aluki. I will be returning to Z-Poxy from now on. It is cheaper, dries slightly slower so you have more time to apply it and actually sticks better and stronger.


Friday 14 November 2014
Aluki's First Steps
So today I have been testing out if my Aluki test puppet can walk..... and she can :)
But I was only able to do three steps as the nuts in her right foot fell out at this point, rendering it impossible to hold her in place. The reason the nuts fell out (despite being epoxy glued!) was because when I initially set them in the polymorph feet, some of the polymorph overflowed into the holes in the nuts, meaning when using the tie downs there was not enough depth to the holes in the nuts to get a good grip. So basically I need a drill to make the holes in the feet bigger, so there is enough room for the nuts and bolts.
Despite this issue I think the walk (well, steps) went well. So I guess next its onto a run....
Tuesday 4 November 2014
Distance Storyboard
Here we have the first pass of the storyboard. It was drawn by the genius that is Eline Lindaas, The two of us spent a day going through the script and discussed how best to visualise it. Eline then drew it up. She has done an awesome job, her drawing skills never cease to amaze me. Find more of her work here: www.elinelindaasanimation.blogspot.co.uk
There are a fair few things that need changing, as some parts are not bringing out the emotion and tone enough. The whole of the wood chopping scene will be changed and the majority of the blizzard scene and reunion scene will be altered. There are also lots of little tweaks that need adjusting. But I do feel it's on the right tracks.
I'm in the middle of creating the animatic at the minute and will upload that in due course, so stayed tuned!


Thursday 23 October 2014

Wednesday 22 October 2014


Thursday 16 October 2014
Puppet Poses
I placed Aluki in some poses that show some of the emotions she will feel in the film. I'm really pleased with how she looks on camera, the foam shines in the light really nicely. I do need to make some covers for the bottom of her feet when they are on show though, to cover up the nuts. Putting her in the poses really brings her to life and makes me even more excited for how my film is going to look (if that's even possible).


Aluki Prototype Puppet
Turnaround of Aluki. Her face definitely looks better painted on digitally than it did in plasticine - much more delicate.


First Test Animation Of Aluki
Wow. Just wow. This was soooooooo incredibly awesome to make. I took my little puppet into the new stop motion room and was shown how to use the Dragonframe software. I was then left to my own devices. I decided to get Aluki to enact when she waves goodbye to Anik in the first scene.
I'm very pleased with how this turned out, I think I've got some performance in there. If I were to do it again I would do some things differently, such as make her head cock towards camera rather than away from it and give her plaits some movement when she bows her head. But this just shows you need to plan the animation really thoroughly before you do it.
The main issue though, was the tie downs. I had put M3 nuts in the feet, as I already had some of these lying around. I did not have the M3 wingnuts, studding and washers to go with them though. I should have guessed that locating these things would be hard seeing as of all the difficulties I'd had in obtaining the other materials for the puppet. But I thought I could just pop down to B&Q and pick some up. Oh how wrong I was. It turns out you need like a dedicated engineering shop to get hold of these things, which nowhere in or near Falmouth has. I couldn't order them online because I needed them the next day, as this was my only chance to animate my test shot. Luckily the media store at campus had some random parts floating around and I managed to concoct something that would make do for the time being. This all meant that I could only tie down two of the foot parts at once and only if they were spread far apart as the washers were too big. I hadn't glued the nuts into the feet as I didn't want to finalize the size before I had the other parts of the tie downs (it made sense at the time!) so the nuts kept falling out of the feet. It all was basically fine while I was animating the wave, but when I tried to make Aluki turn it all started to fall apart, which is why the turn is quite messy. I did
want to attempt a walk but there was no way I could without having the correct tie downs.
Despite the tie down problem I loved animating this so much. Stop motion is literally incredible.
Updated Script
I have here an updated version of the script. I have added in some possible additions that make the story a bit clearer, however I'm not sure as of yet whether I will use them or not. Storyboarding will help decide this though.


The Finished Prototype
Here is the finished puppet!!!!! I'm incredibly happy with it. I painted the foam with acrylic inks as they are flexible and are very rich in colour. I decided to not put a face on it physically as I'm going to animate it digitally over the top of the photos. Sadly, I couldn't colour the shoes, as you have to add the oil paints to the silicone before you apply it, rather than after... yehhhhh.... well I know for next time.

Needs More Fluffiness
I padded out the fur coat by sticking extra bits of foam to it and then I gave it a ruff around the face. The extra bits of foam stuck on look as though the coat has been sewn together from lots of different pelts. The coat definitely needed puffing out, it looks a lot better than the previous version.
I put a plasticine face on her but I feel it is a bit too clumsy and due to the small size it would be hard to animate.


Hair Styling
I removed the coat so as to reach the head. I made the hair from twisted aluminium wire with embroidery thread twisted and glued around it, so that the plaits are animatable. I secured these, along with the fringe, to the head with more wire which I glued inside the head.
At this point I also made the leggings and gloves longer as I realised you could see further up the coat than I had initially thought, when the puppet is moved about.

The Genius Of FOAM!!
After running around Truro, Falmouth and Penryn, looking in every conceivable place for some foam that was suitable for the fur coats, I went into Wilkinsons on a spur of the moment, last ditch attempt. And it paid off. I found foam!!! They sold fairly big white bath sponges, that, if glued together would be big enough to carve a coat from. I was pretty close to doing a happy dance in the shop at this point, I had been that desperate for foam.
I gradually carved my block of foam into a coat like shape. When it was roughly the right size I cut it down the middle. I then cut out the middle of the two halves, so that the armature could fit inside the coat and move about comfortably. I then pinned the coat halves back together and continued to cut the foam to shape it more.


Foaming Up The Legs
Next on the puppet making agenda was bulking out the legs. I cut up some foam I got from washing up sponges and and wrapped it round the joints, gluing it in place with craft spray mount. I then added more foam to the legs to shape them into the tapered look of my character design. I also put foam around the hands to create the mittens.


Next I put silicone around the feet to create the boots. The silicone was quite hard to sculpt as it's difficult to smooth. Silicone is cool stuff, it dries like rubber, so you can still bend all the joints even with the silicone around them. I hung it out to cure on a wire across my window.

Building A Skeleton
I used polymorph and aluminium wire to create the armature. Polymorph is this really cool stuff that comes in the form of little white plastic beads. You put them in boiling water and after a while they go translucent and gel together. You take them out of the water and then mould them into whatever shape you want. Once its cooled. your shape goes white and becomes hard plastic. If you want to remould it, just put it back in boiling water and repeat the process.
I made the bones first out of the polymorph but once I'd laid them all out on top of the armature drawing I realised they were too big all round, joints would not be able to bend as the bones would hit against each other.

So I remoulded the whole thing, making everything a lot smaller. Perfect. I then twisted my wire together, using pliers, a spoon and my fingers. Get the required strands of wire, twist the ends round a spoon handle, the actual spoon bit will stop them slipping off the spoon, then hold the other ends of the wire in the pliers and then start twisting the spoon. The wire will then neatly and evenly twist together.
Spine: 1.5mm x 3
Arms: 1.5mm x 2Legs: 1.5mm x 2
Feet: 1.5mm x 1
Wrists: 1mm x 2
Fingers: 1mm x 2
I then softened the bones in boiling water and pushed the wire through them, making holes. Once the polymorph had hardened again I glued the wire into the holes in the bones with epoxy glue.


Subscribe to:
Posts (Atom)